Wrapping a kayak comes with many advantages. If done right, it will make you stand out, allow you to show your creativity, and protect your kayak from weather elements. You can learn how to wrap a kayak in 5 steps to get these advantages.
You can buy already-made wraps or design one by yourself to define your personality. Whichever the case, the procedure for wrapping a kayak remains mainly unchanged. The steps are straightforward!
Read on for detailed steps on wrapping a kayak to give it a new look. We will also answer commonly asked questions about covering a kayak. Let’s dive right in!
Table of Contents
Can You Wrap a Kayak?
Yes. You can wrap your kayak to give it a facelift or a bit of touch. It is an interactive task that allows you to put your creativity to the best use and make your kayak attractive once again.
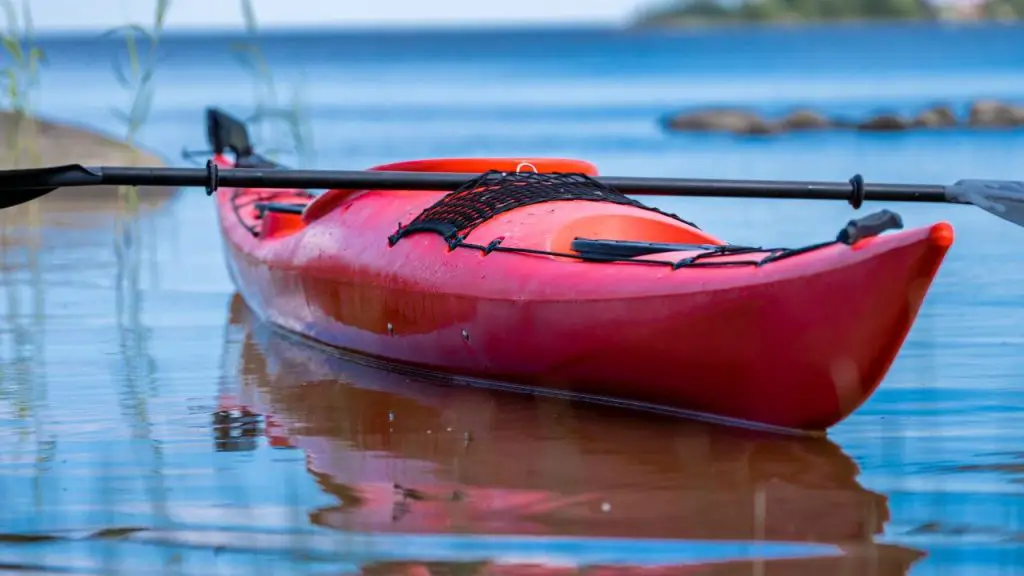
Wrapping a kayak is quite popular among kayak enthusiasts. The completed art is both functional and satisfactory. It helps to change the appearance of your boat, making a statement among other kayaks on the water.
Wrapping your kayak will also help to hide those scratches on the hull. It makes it appear as clean and reflective as new.
Pros and Cons When Wrapping a Kayak
Wrapping your kayak comes with many benefits, but not without a downside. Let’s quickly highlight some pros and cons to help you know what you get when you decide to do it.
Pros:
- Makes your kayak stand out among other boats
- The best way to showcase your creativity
- Solid and durable kayak wraps can protect your boat when kayaking in saltwater or freshwater.
- Wraps are easier to remove to restore the original kayak appearance, unlike using paint.
- Kayak wraps protect your boat from scratches and other less severe elements, such as abrasions.
Cons:
- Requires previous knowledge to artfully wrap a kayak.
- Wraps can lower the resale value of your boat as the patterns on them can turn away potential buyers.
- Very expensive if you use a professional kayak wrapping service.
How To Design a Kayak Wrap
Different kayak wrap designs exist. What you choose should reflect your personality and what you value.
For instance, darker or blending wraps may be the best choice if you have a serious guy. But if you have a silly personality, you can go for some colorful designs that make you the center of attention.
5 Steps to Wrap a Kayak
Wrapping a kayak involves 5 steps. These are procedural, meaning you should not skip a step. This is a simple project that does not require many tools. All you need is a decal of your choice and a WrapCut edge cutting tape. You may also need a heat gun to help you contour over studs and other raised edges.
Here is a complete list of what you need for this project:
- Kayak wraps of your choice
- Edge cutting tape
- Acetone
- Paper towel
- A pair of scissors for cutting the tape
- Razor blade for removing burrs
- Heat gun (optional)
WrapCut PRO

Step 1: Remove Anything That You Got on the Side
Most kayaks have some graphics, decals, or stickers on the hull. You should remove these as the first step of wrapping your boat. A clean surface is required to install a kayak wrap.
Step 2: Use Acetone to Clean the Kayak
Removing stickers and decals may leave behind adhesives or other sticky substances. You need to remove these and ensure you have a clean surface.
Put acetone on a paper towel and ensure it soaks well. Use the damped towel to wipe out all the sticky substances on the boat. Acetone also helps to dry out any water and allows the wraps to stick on the back of the kayak better for durability.
You also need to feel the plastic surface of the kayak with your hands to confirm the smoothness. If you find any burrs, use a razor blade to scrape them off.
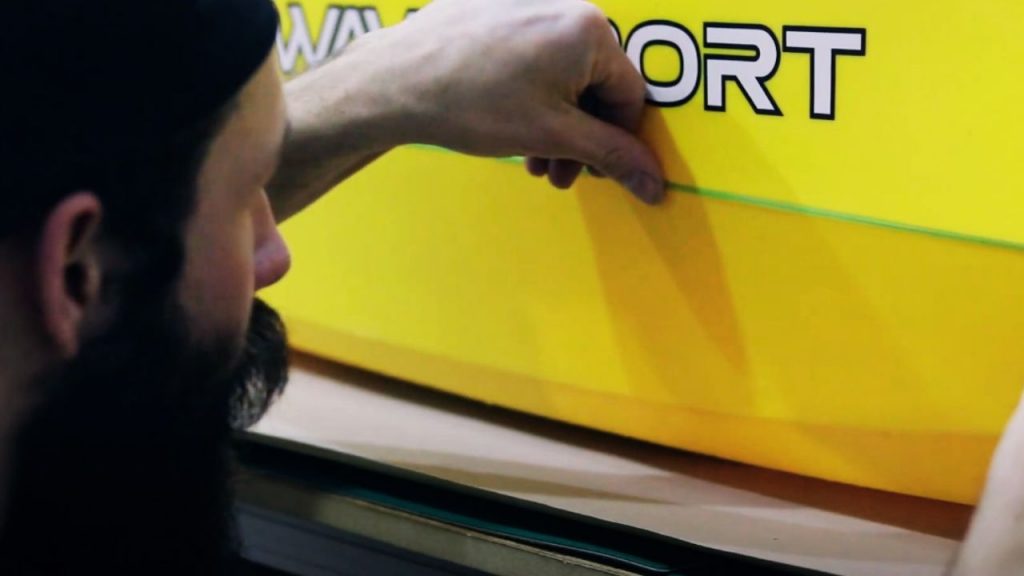
Step 3: Apply Wrap Cut Tape
The wrap-cut tape will help you trim the wraps. Apply this at the edge where the side plastic surface ends. Usually, there is a change in the texture of the material used that can be your guide.
Apply the wrap-cut tape along the boat, advancing a few inches at a time while pressing it against the surface to hold very well. Do it from one end to the other to outline where you want your graphics to be cut once you apply the decal.
Ensure the outline you want the decal to be is surrounded with this wrap-cut tape.
Step 4: Apply the Decal
Start applying the decal from one end. Unpeel it and roll it down the side of the kayak as you press the decal on the surface. You can also use masking tape to hold the starting end in place.
Start midway through the kayak as you head backward, and remove the air bubbles and wrinkles using your finger or a card. Ensure the decal is flat on the side of the boat. Do the same for the remaining front section.
Grab your heat gun or a hair dryer to heat the decal to further remove the wrinkles and encourage contouring. This step also helps the wrap stick on the plastic better.
Step 5: Find and Pull Wrap Cut Tape
Find the wrap-cut tape string and pull it off to cut the decals, giving it a clean, smooth cut. Pull off the cut tape and use a heat gun to remove bubbles and smooth out any edges.
Now, your kayak has a new look.
FAQs
Can you wrap a canoe?
Yes. You can wrap a canoe with graphics of your choice. Different decal designs exist, and that is a personal preference.
Can you modify a Kayak?
Yes. Kayak modification is the only way to add a personal touch to your boat. You can customize as many features as possible, including wrapping them with decals.
How can I make a cheap kayak better?
Different DIY mods for making a cheap kayak better exist. You can use these to improve the performance and stability of your boat. Use outriggers, paint or wrap your kayak, add a rudder system, paddle holder, etc.
Can you turn a regular kayak into a fishing kayak?
Yes. Fishing kayaks are more expensive than regular ones. So, you can buy an affordable boat and customize it for fishing. You can do that in many ways, including adding a pedal drive or motor. But you should never exceed the weight limit of the boat!
Conclusion
Wrapping a kayak with decals is straightforward, done in only five steps. It is an easy project any kayaker can do, provided all tools and accessories are available.
Wrapping a kayak gives it a new look, makes it stand out, and prevents it from scratches and other elements. You can test your creativity with this project.
Thank you for reading this article at Windpaddle. We appreciate your time and believe you can use this information to improve your paddling experience. Kindly share this article with your fellow kayakers and check the website for related content.