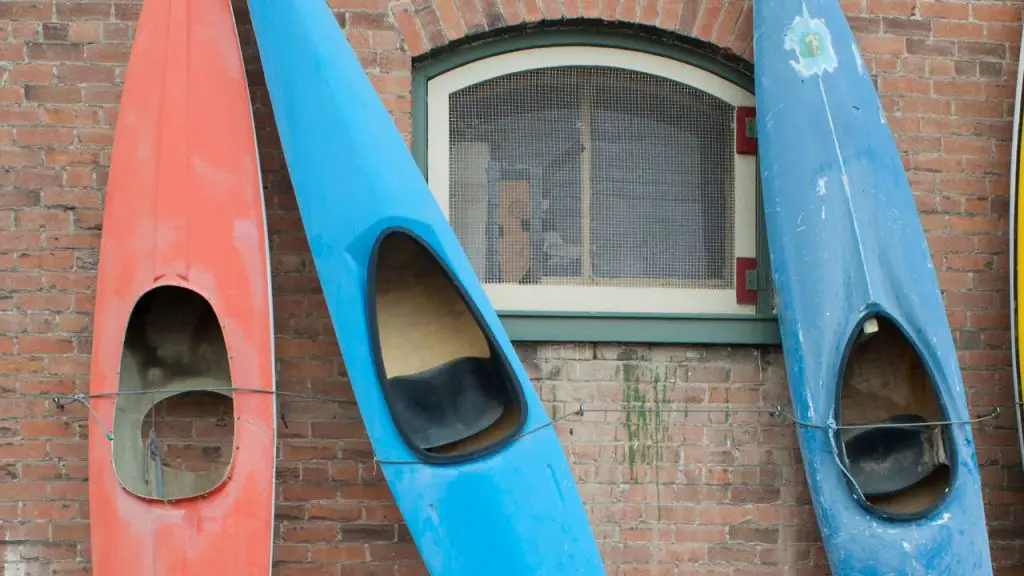
If you are a kayaker, then you know that your boat is an important investment. Like any other piece of equipment, it must be taken care of to last for years. One way to protect your kayak and keep it looking new is to paint it.
In this blog post, we will discuss the benefits of painting a fiberglass kayak and provide tips on how to do it yourself!
Table of Contents
Can You Paint a Fiberglass kayak?
However, if you have a fiberglass kayak, you may wonder if it is even possible to paint it. The short answer is yes! However, it’s not as simple as brushing it on. Fiberglass kayaks, after all, are a specialist’s material; therefore, they must be taken care of differently.
The ultra-smooth surface and curved shape of a kayak may present challenges when painting. Luckily, with a few cans of special paint, a nice work table, and a little know-how, you can paint your own fiberglass kayak with no problem.
When to Paint Your Fiberglass Kayak
There are plenty of reasons to paint your fiberglass kayak. Maybe you want to change the color, add some personalization, or protect it from UV damage. Whatever your reasons, painting your kayak can be a fun and rewarding weekend project!
To Protect it Against Sun Damage.
One of the main reasons why you would want to paint your kayak is to protect it against sun damage. Fiberglass is not UV resistant, so it can fade and deteriorate. Painting it will help to protect it from the sun’s harmful rays.
To Make It Look New Again.
Another reason to paint your kayak is that it can make it look new again. Over time, kayaks can start to show their age. Painting it will help to give it a fresh coat and make it look new again.
To Help it Blend with the Environment.
If you’re tired of the color of your kayak, painting it can be a great way to change it. This is especially true if you have an older kayak that is starting to fade. You can choose any color and give your kayak a new look.
To Increase Resale Value
If you’re thinking about selling your kayak, painting it can be a great way to help it sell faster. In addition, a new coat of paint will make it look more appealing to potential buyers.
What Kind of Paint Do You Use on a Fiberglass Kayak?
Choosing the right paint is absolutely crucial. You can’t just use any old paint on a fiberglass kayak. You need to use a special type of paint designed for boats. There are many different types and brands of boat paint, so it’s essential to do your research before you buy.
One of the best options is marine-grade epoxy paint. This type of paint is very durable and will stand up to the elements. It’s also easy to apply and will give your kayak a professional-looking finish.
You can find marine-grade epoxy paint available at most boat supply stores or online. Be sure to follow the instructions on the label carefully to get the best results.

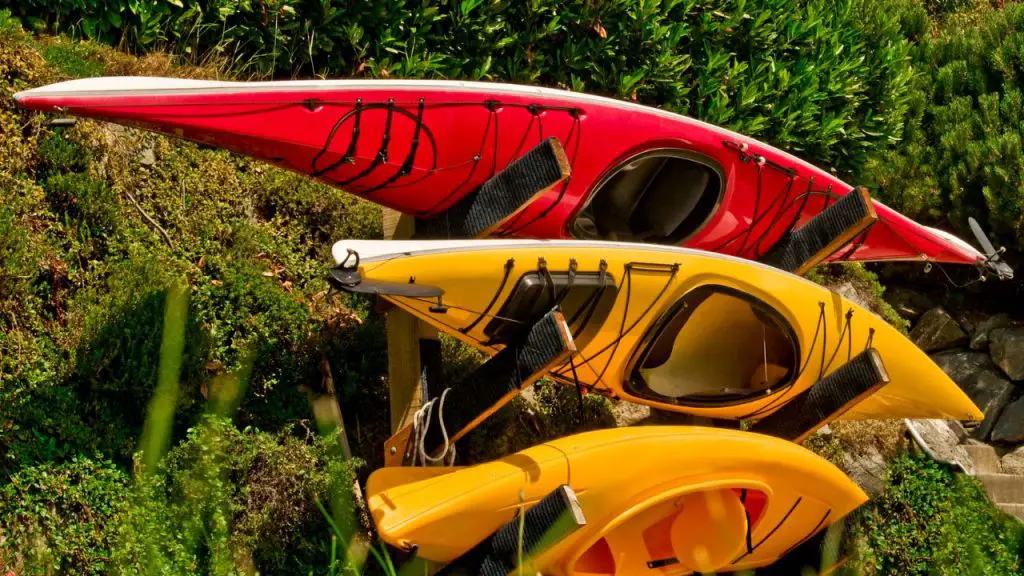
You also need to decide what color you want to paint your kayak. The sky is the limit! You can choose any color or go with a two-tone scheme. Just make sure you pick a color you will be happy with for years to come.
Going camo is also popular if you want to explore the great outdoors without interfering with the natural surroundings.
However, no matter what color or paint type you choose, be sure to finish the job by applying a layer of clear coat. Krylon 1311 is a great option. This will help to protect the paint and make it last longer.
Krylon Unisex Adult Krylon Fusion ALL IN ONE 2705 Gloss Clear

7 Steps to Paint a Fiberglass Kayak
Now that you know what kind of paint to use, it’s time to get started! Painting a kayak is not as difficult as it may seem. Just follow these simple steps, and you’ll be finished in no time.
To help you get things done faster, here’s a list of things you need to prepare:
- Water hose and water supply
- Dishwashing liquid or boat-wash
- Sandpaper (grit of between 100–220)
- Clean cloths and rags
- A painting mask
- A pair of protective gloves
- Marine-grade paint, epoxy paint and clear coat
- a set of paintbrushes (spray can or a spray gun)
- Foam paint rollers
- Marine wax (or finishing spray paint)
HomeRight 2412331 Quick Finish HVLP Paint Sprayer Power Painter

Now that you’ve got all of your supplies, it’s time to get started!
Step One: Find a Good Area
Before anything else, you should find a good area to work in. This should be a well-ventilated space where you can lay your kayak down or upside down on a sawhorse. You may want to set up a tarp or something else to catch any drips.
Step Two: Prepare Your Kayak
Prepare the paint surface by stripping it down. Take out all the hatches, cockpit paddings, gear storage lines, and rudders. If there are stickers on your kayak, take them off too. Tape off all the kayak areas you don’t intend to paint.
Step Three: Clean and Sand the Kayak
Give the kayak a once-over with boat wash or dishwashing soap to get all the grease and gunk out of the surface. Once everything is dried and taped off, you can start sanding the kayak. If you’re just painting over a scuffed area, you temporarily just file and paint the damaged area.
But it’s not going to look very nice with uneven paint. For an even paint job, it’s best to sand off and paint the entire kayak. Use medium-grit sandpaper to rough up the surface. This will help the paint adhere better. Just be sure not to sand too hard, or you could damage the hull.
If there are damaged parts of the kayak, now is the time to apply gel coat repair kits. Make sure you carve them down as close to the surface as possible to avoid dimples on the paint.
Step Four: Apply Paint to the Kayak
Wear protective gear such as gloves, a painting mask, and eye protection. Protecting other parts of the kayak that are not fiberglass is also vital. For example, wooden or metal pieces along the hull should all be taped with painter’s tape.
Start painting the kayak from the top and work your way down. Use even strokes and pay close attention to detail. If you’re using a foam roller, avoid overloading it with paint.
Otherwise, it will drip everywhere. It’s better to use several light coats instead of one heavy coat. Typically, it takes two coats to achieve the right shade of the color you want – a primer and the main paint.
Let the paint dry in between coats. Depending on the temperature and humidity, this could take anywhere from a few hours to a day. Be patient and let the paint fully dry before moving on to the next step.
ScotchBlue Original Multi-Surface Painter’s Tape

Step Five: Apply Clear Coat
After the final coat of paint has dried, it’s time to apply a layer of clear coat. Krylon 1311 is a great option. This will help to protect the paint and make it last longer. Just like with the paint, use even strokes and be sure not to overload the foam roller or brush with a clear coat. Again, using several light coats instead of one heavy coat is better. Let the clear coat dry completely before moving on to the next step.
Step Six: Let the Paint Dry
Once you’ve applied the final coat of paint, let it dry before considering it fully dry. This should take up to 24 hours.
However, don’t put your newly painted kayak on the water just yet, even if it’s completely dry. To ensure that the paint adheres properly, you should wait at least 48 hours before taking it out for a spin.
In the meantime, make sure to store your kayak in a cool and dry place. !
Step Seven: Clean and Wax Your Kayak
Sure, you’ve got a newly painted kayak now. But, it won’t stay looking this good forever. So, to make it last, you should clean and wax it before using it in the water. This step should help imperfections appear so you won’t get surprised by them later.
To clean:
- Use a soft cloth and marine wax.
- Gently rub the wax all over the kayak in small circles.
- Once you’re done, buff it with a clean and dry towel.
Now your kayak is ready for the water! Just be sure to take it out for a spin on calm waters first to ensure everything is in working order. You don’t want to be stuck in the middle of the lake with a kayak that’s not up to par.
And that’s it! You’ve now successfully painted your fiberglass kayak! Don’t forget to enjoy showing off your new paint job the next time you hit the water.
FAQs
What is the best way to paint a kayak?
The best way to paint a kayak is to sand off the old paint, apply gel coat repair kits (if necessary), and then repaint the entire kayak. Be sure to use even strokes and several light coats of paint instead of one heavy coat.
What is the best paint for a fiberglass canoe?
The best paint for a fiberglass canoe is marine-grade paint with a top coat of Krylon 1311. This combo will help to protect the paint and make it last longer.
How do you prepare a fiberglass canoe for painting?
The best way to prepare a fiberglass canoe for painting is to wash, clean, sand off the old paint and then apply gel coat repair kits (if necessary).
Do you have to Prime fiberglass before you paint it?
While the short answer is no, fiberglass kayaks are not made for your ordinary paint job. If you’re set on painting your fiberglass kayak, then you should use a primer before painting it. This will help the paint to better adhere to the kayak and make it last longer.
Do you have to sand fiberglass before painting?
Yes, you should sand fiberglass before painting it. This will help to create a surface for the paint to adhere to and make your paint job last longer.
Parting Thought
Remember that kayaks are made to get roughed up a bit in lakes and in open oceans. They’re supposed to get banged up and dinged up a bit. Sun damage is also common.
So, if you’re no longer happy with how your kayak looks, don’t be afraid to give it a makeover with some paint. With the right prep work and paint, you can turn an old and battered kayak into something that looks brand new again.
Phew, there you have it! Now get out there and paint your fiberglass kayak like a pro! And don’t forget to enjoy showing off your new paint job the next time you hit the water.
Happy painting!!