Are you bored with the color of your kayak? Do you want to re-paint it with a unique painting idea? You can paint a plastic kayak easily to make it more attractive.
Besides, the quality paint will improve durability and protect the outward part from rust. Your kayak will get a new look and a long life expectancy. Paint will give an aesthetic look and improve performance.
Besides, you can save time and money if you do it yourself. You have to follow some steps to paint your plastic kayak perfectly.
This article will give you a complete painting solution for your plastic kayak. Let’s explore “How to Paint a Plastic Kayak”
Table of Contents
Can You Paint a Plastic Kayak?

Yes, you can paint a plastic kayak. The kayak will get a new and shiny look. It is possible to add some attractive signs on the hull to make it more appealing.
You should paint the kayak perfectly to get an aesthetic look. Make sure the paint is water resistant and suitable for plastic materials.
Besides, you have to ensure that the paint is adhesive and perfect for a plastic body. In general, polyethylene material is not good for painting and gluing.
What Paint to Use on Plastic Kayak?
Selecting quality paint is a challenge. You have to consider several things before finalizing your decision. The paint should be water resistant and suitable for plastics.
Remember, you will apply the paint on the exterior part. So, the paint must be non-sticky. Sticky paint will destroy your paint job.
Here are some recommended products for kayak painting. These items come with a long life expectancy and an easy application process.
Krylon Fusion for Plastic® – It takes only 15 minutes to dry, and you don’t need sanding or priming for this paint.
Valspar® Plastic Spray Paint -This paint can change the color of any rigid plastic surface. Besides, it is ideal for interior and exterior use.
Rust-Oleum Specialty Paint For Plastic Spray– You can apply this paint on PVC, resin, fiberglass, polypropylene, vinyl, and more. The oil-based formula applies directly to plastic without primer.
You can need primer to get that desired color! There are some recommended:
Krylon K09188000 COVERMAXX Primer, White, 12 Ounce
How Much to Paint a Plastic Kayak
The actual cost will be different due to the size and type of painting. A 10 feet long kayak costs around $200 to $350 depending on the condition.
Is it worth painting a plastic kayak? Its value depends on the condition of the kayak and the amount of painting.
Paint will give a new look to your kayak. It offers several advantages for the outer part of the boat. Similarly, paint can protect against dust and rust. For easy understanding, here are some specific benefits of painting a plastic kayak:
- Scratches and dents protection
- UV fading and damage protection
Besides, you will get distinct advantages from Camouflage Paint. It will disguise or fix scratches on the surface. But, this painting is unable to survive for a long time. It will fade and tear every time you paddle.
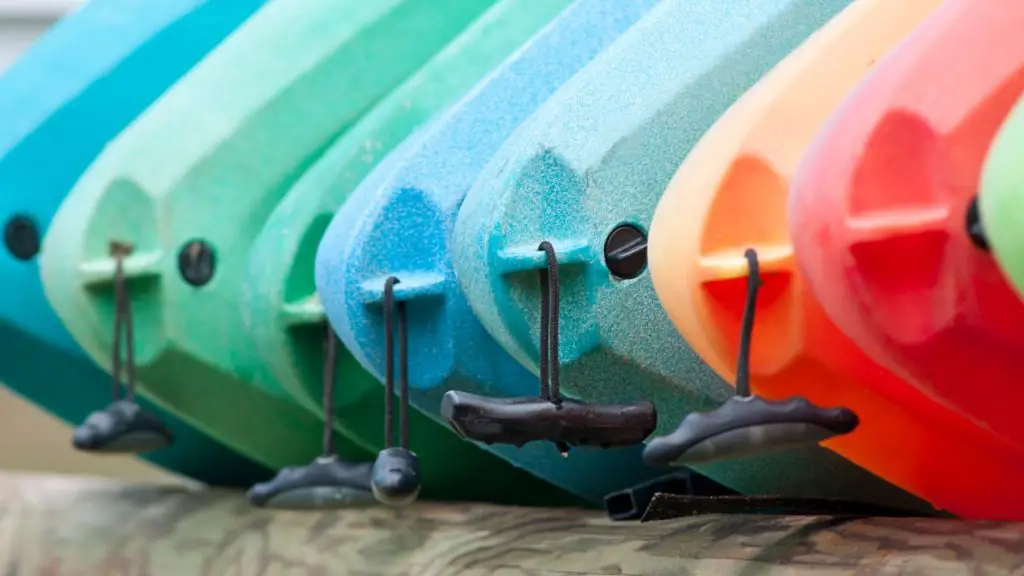
9 Steps to Paint a Plastic Kayak
If you want to make your painting job easy, you can follow some effective steps. These steps are similar to plastic kayaks or kayaks with other materials.
The only adhesiveness is important. You should be aware of the gluing quality of the painting while doing it for a plastic kayak.
Cleaning and removing dust is a mandatory step. Besides, you have to wipe the entire surface and dry it perfectly.
You can use sandpaper to remove shiny surfaces and start painting on plastic kayaks. Here are some specific steps.
Prep Tools
First, you have to select tools for painting a plastic kayak. Some tools and devices will make your painting job more convenient.
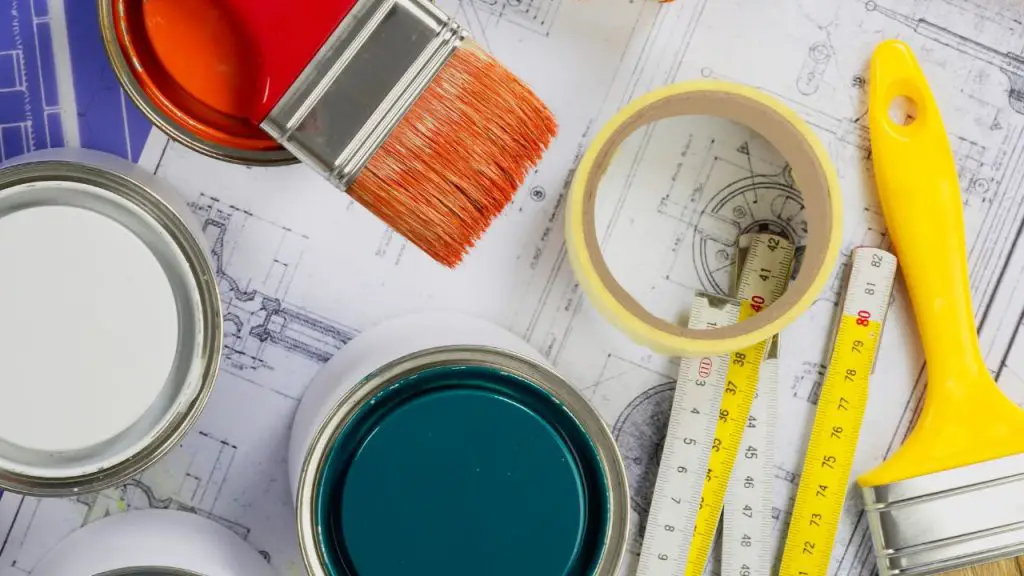
You need paints that suit best for your kayak. You can use these paints for a plastic kayak. We recommend them because of their long life expectancy and perfect adhesiveness.
- paint to use on a plastic kayak:
Rust-Oleum Specialty Paint For Plastic Spray.
- Marine-grade paint
- Paint thinner
- Dishwashing liquid or boat-wash
- Water hose and water supply
- Acetone
- A painting mask
- A pair of protective gloves
- Clean cloths and rags
- Marine wax (or clear finishing spray paint)
- Sand paper
- Safety glasses
- Gelcoat repair kit
- Pressure washer
- Acetone
- Orbital electric sander
- 120-grit sanding disk
- Utility knife
- Masking tape
- Tack cloth
- Foam paint rollers
- paintbrushes (spray or a spray gun)
- Sponge (optional)
- Earplugs (optional)
Prep an Area
Next, you have to select the area where you will paint the kayak. In general, a windless outside area is perfect for kayak painting. You can also do it indoors. It is important to ensure proper ventilation and a dust-free room for indoor painting.
Besides, a confined space is not suitable enough for plastic kayak painting. Remember, dust is an enemy of painting. It is better to set the kayak on a cloth or frame.
If you don’t have enough space, we recommend painting your kayak part by part. It will eliminate the risk of paint spreading.
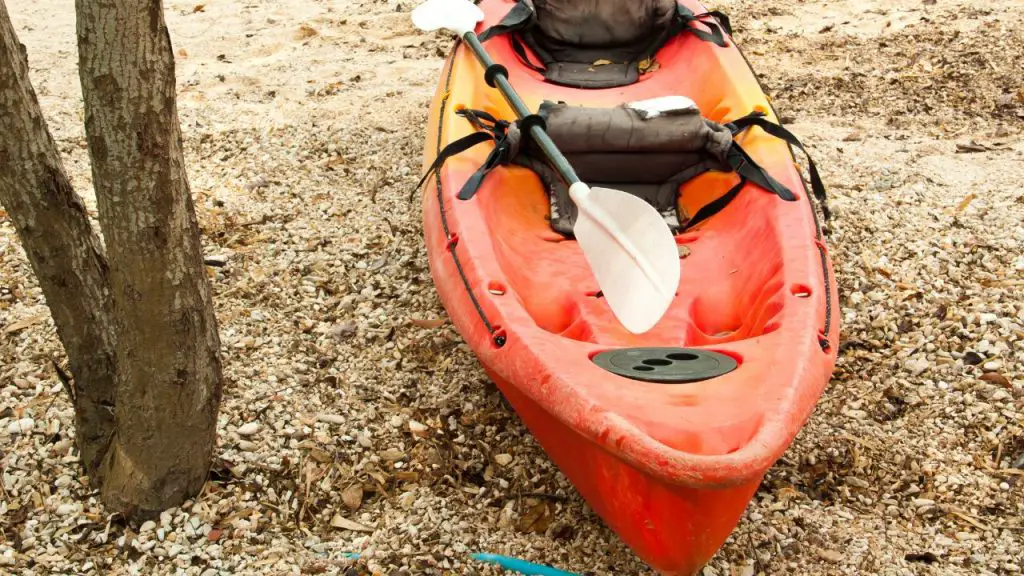
Strip It Down
A clean canvas will allow you to paint a kayak perfectly at home. You can enjoy the DIY kayak painting with outstanding results. So, strip your kayak and remove the parts that you don’t want to paint.
There are several non-paintable parts, including the seat, rod holder, screw, and foot braces.
The floating capacity of a kayak depends on the body parts and design. It is better to escape unnecessary painting schemes. Never paint a part that will reduce the performance of the boat.
Removing different parts will make your job easy and blameless.
Clean Kayak and Sand it
As we discussed, a clean surface is mandatory for perfect painting. Cleaning the kayak with detergent or a liquid dishwasher is very convenient. It will remove dust, rust, or any other messy thing from the surface.
A clean surface will increase the adhesiveness of the paint. You will get an enduring painting solution for your kayak.
You can use a soft cloth to remove the water after washing it with detergent. This process will dry the kayak faster.
Sandpaper is a perfect tool to make the surface smooth. It removes small marks from the dry surface.

Wipe Down Kayak With Acetone
After cleaning and sanding your kayak, wipe it down. Use acetone to remove paint or dust one more time. Acetone also removes the oils that are harmful to the paint’s adhesiveness.
Furthermore, you have to remove decals to get a glossy finished outlook.
The unique advantage of acetone is that it works as an adhesive promoter. So, we recommend applying it before starting to paint on plastic kayaks.
The paint will remain for a long time if you follow the pre-painting steps perfectly. Don’t avoid a step blindly.
Paint The Kayak
Now it is time to paint the kayak. Before starting, prepare yourself by wearing gloves and a mask.
At the very beginning, spray paint over a foam roller or brush.
Then apply it to the clean surface of the kayak. In general, a plastic kayak requires three to five times the coating for a clean painting solution.
Wait for some time before the next coat. Make sure that the previous one dried completely. Follow this process for all the coats.
Multiple coats will make the surface more glossy. The number of coats depends on the type of brush and sprayer.
Paint until you get your expected output. When you are satisfied, put the kayak in a dry place and let it dry for 24 hours.
Now you can add personal touches or designs on the dried surface.
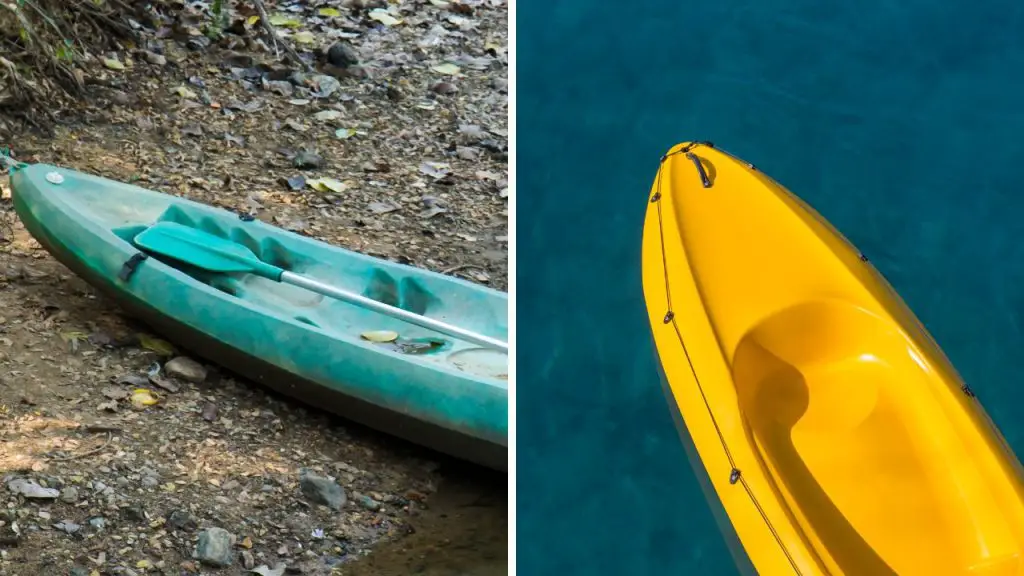
Apply a Clear Coat
You have painted your kayak with colors. Now, it is time to apply a finishing spray with a clear coat.
The clear coat is a protective thin paint material that will protect against UV, weather effects, and environmental transition between the kayak and paint.
The main reason is to enlarge the life of the paint on a plastic surface.
Select a quality clear coat. Then, clean the dry painted surface of the kayak.
Apply it with a soft brush or paint cloth. It will dry quickly and mix with the surface easily.
Wait for Paint Cure
Paint curing is a significant step for painting a plastic kayak. You can define paint curing as the process of hardening the paint. In this step, the paint will be added to the kayak’s surface after a few hours.
Spray paint takes around 30 minutes to 2 hours to cure. On the contrary, oil paint needs more than 24 hours to cure.
We recommend keeping your kayak for 24 hours to cure both for oil and spray paint.
After 24 hours, your boat will be ready for everyday use.
Lightly Clean and Apply Marine Wax
So, your boat is completely cured after 24 hours. Now, it is time to clean and apply marine wax.
Marine wax works like a permanent polish. You don’t need to clean the surface every day. It protects the color and coat for a long time.
To apply marine wax, position the boat in a secure place and clean the surface lightly.
Make sure that the surface is clean enough. Apply the wax on an automated brush or polisher and gently do your job until it vanishes on the surface.
Wait for a few hours. Your kayak is ready to paddle with a new paint scheme.
Tips to Paint a Plastic Kayak
DIY plastic kayak painting is easy and convenient. You can make the process more effective like a professional with these tips.
- Don’t hesitate to clean and dry the kayak perfectly. Without a clean and dry surface color will lose its adhesiveness.
- Use 2 to 4 coats depending on the types of paint and kayak’s surface.
- Put the kayak for 24 hours to dry. Curing is a significant issue.
- Before applying the paint, you can try the color on a white base to make sure that the color is right.
- Try to use the correct base color. It will give an attractive look.
- To check your sprayer or can, you can test it on a cardboard, newspaper, or your drop cloth.
FAQs
Can you spray paint a plastic kayak?
Yes, you can spray paint a plastic kayak. It will be convenient to apply on a clean and dry plastic surface.
How do you refurbish a kayak?
You can refurbish a kayak by painting it. Multiple paint coats with a clear coat will give a new look to the exterior part of the kayak.
Can you sand a kayak?
Yes, you can sand a kayak. It will remove unwanted dust and make the surface smoother.
What can I paint my kayak with?
You can paint your kayak with spray paint or a paintbrush. You have to use a paint brush for oil paint.
Can you buff scratches out of a kayak?
You can buff scratches from a plastic kayak by using sandpaper. It will enable you to remove scratches and spots before painting.
Conclusion
Finally, you got the effective steps for painting a plastic kayak. You can do it yourself and give an attractive look to your kayak.
Painting is not a difficult job, but you have to consider several things while doing it. A wrong step can easily destroy the whole painting.
Besides, you have to understand the application of materials and paint. The process is distinct for oil and spray paints.
You can follow our articles to get excited knowledge and effective tips about kayaks. Get ready for our next kayaking article.

