Painting your kayak could be an amazing job. You can change it to your favorite outlook or hide the cracks, and scratches. An artistic paint will give a vibrant appearance of your kayak.
You can paint your kayak from a professional painter or by yourself. In general, paddlers like to paint their kayak at home. So, how to paint a kayak?
Table of Contents
Can You Paint a Kayak?
Yes, you can paint your kayak to give it a new and artistic look. You have to conduct some research to understand the material of the kayak.
In general, you can paint a kayak that is made with wood, fiberglass, and polyethene plastic. You have to understand the material and type of painting.
Selecting an appropriate paint is the most crucial thing while painting your kayak at home. So, consider the quality and type of paint along with kayak materia.
9 Steps to Paint a Kayak
If you know the exact process of painting a kayak, it will be easier to do your painting job like a professional. The paint will protect the kayak’s surface with a new outlook.
We find 9 easy to do steps that will enable you to paint a kayak perfectly. You can follow this step-by-step guide to avoid any unwanted situation while painting your kayak.
Besides, you need some tools and supplies to get started. These are:
- Water hose and water supply
- Dishwashing liquid or boat-wash
- Sandpaper
- Clean cloths and rags
- Acetone
- A painting mask, gloves
- Smooth paint brush or sprayer
- Marine-grade paint
- Marine wax
STAR BRITE Concentrated Boat Wash

Step 1: Clean Your Kayak
Cleaning is the first and most important task before starting painting. A deep wash not only removes the dust and dirt but also prepares the surface for an error-free painting.
A dusty surface can not hold the paint. It will be an obstacle between the kayak surface and the paint.
You can use mild soap and water to clean your kayak. After that, put your kayak in a clean area until it is dried.
Remember, don’t clean your kayak with a hard brush. The painting will be a mess on a scratched surface. Besides, you can use dent paint to hide the scratches and spots of the kayak.
Step 2: Prepare Tools, Area, and Your Kayak
So, now you have a clean kayak ready for painting. You can move forward with the necessary tools and equipment.
You have to select an open and ventilated space with sufficient area to paint a kayak. The place should be dust free. A clean place will protect airborne particles on the surface.
Furthermore, you should take all the tools and equipment in a handy pattern in the room. It will enable you to use them easily and reduce the painting time.
Now, place your kayak in the right position to forward in the next steps. You should remove the seat, foot braces, rod holders, and other accessories.
Step 3: Sanding the Kayak
You can easily clean the dust with a mix of detergent and water. Sanding will remove the small and micro obstacles from the surface. Similarly, it will enable you to dent the crack and prepare it for excellent painting jobs.
First, you have to wipe the kayak down. You should inspect the scratches and hulls to make them smooth.
Second, take quality sandpapers and rollers to apply on the surface of the boat. Quality sandpaper or tools will make your work easier and give you the best finishing.
Third, use sandpaper on the whole surface until it gets the perfect smoothness for painting.
Finally, clean the boat surface with a dry brush or smooth cleaning cloth. It will be better if you use an air cleaner.
BLACK+DECKER Random Orbit Sander, 5-Inch (BDERO100)

Step 4: Wipe Kayak Clean
Now, you have a kayak with a smooth surface. You have to clean the sanded kayak again to ensure a dust free surface . Sometimes, the hull contains oils.
It is important to remove the oil. We recommended using acetone to clean the surface again. It will remove the remaining oils and help the paint to adhere for a long time.
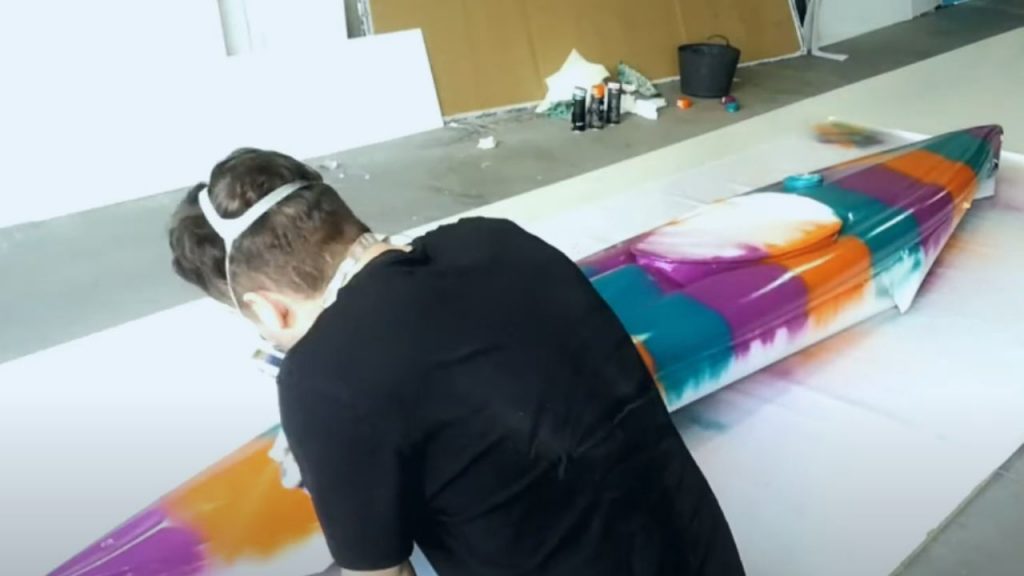
Step 5: Applying Paint to the Kayak
Now, it is time to paint the kayak. You have to follow each part of the paint application. You can not change the paint regularly. So, it is important to paint the kayak carefully.
First, you have to cover the areas with painter’s tape or newspaper that you don’t want to paint.
Second, check that everything is arranged and you are ready for the actual painting job. You must use gloves and a mask while applying paint.
Now, You can use a smooth paint brush or sprayer for the first coat. You can continue the painting until getting the desired shade.
Wait at least five to six hours before the next coat. After finishing all the coats, you have to wait for 24 hours to dry the kayak before moving to the next step.
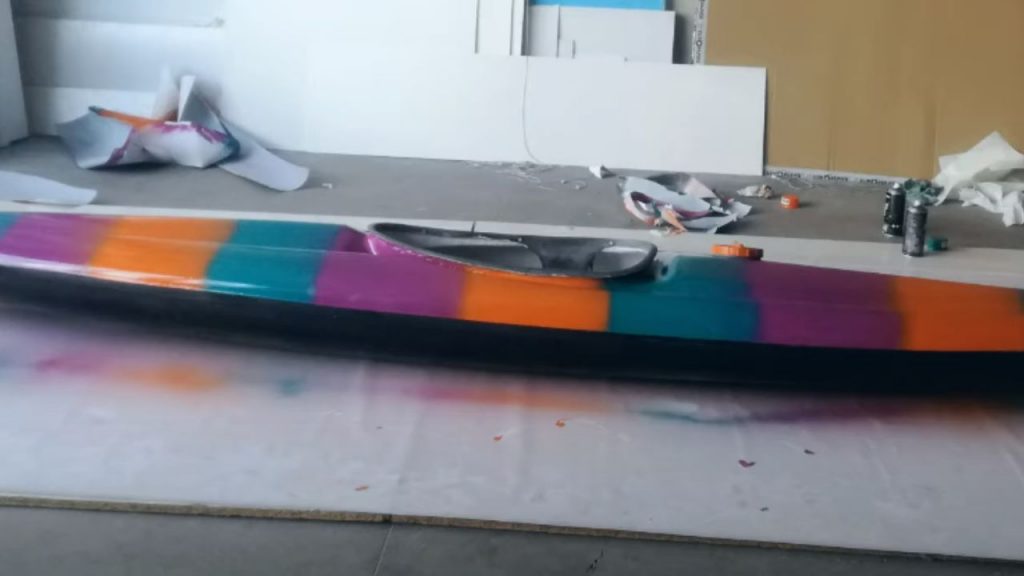
Step 6: Give Kayak a Clear Coating
A clear coating is the finishing paint of the kayak. You can call it the final coat of paint. You have to apply it to protect against scratches, hits, and bad weather conditions.
Remember, the final coat should be applied when the previous coats are completely dry. It is recommended to paint the final coat with a paint spray. It will give you the ultimate finishing.
Step 7: Let the Paint Dry
The drying process of the paint is known as curing. You have to cure the paint perfectly. Curing and drying are a little bit different.
The painting coats will be dried after a few hours. But, the curing takes more time. During curing, the water will evaporate from the painted surface and develop a hard surface.
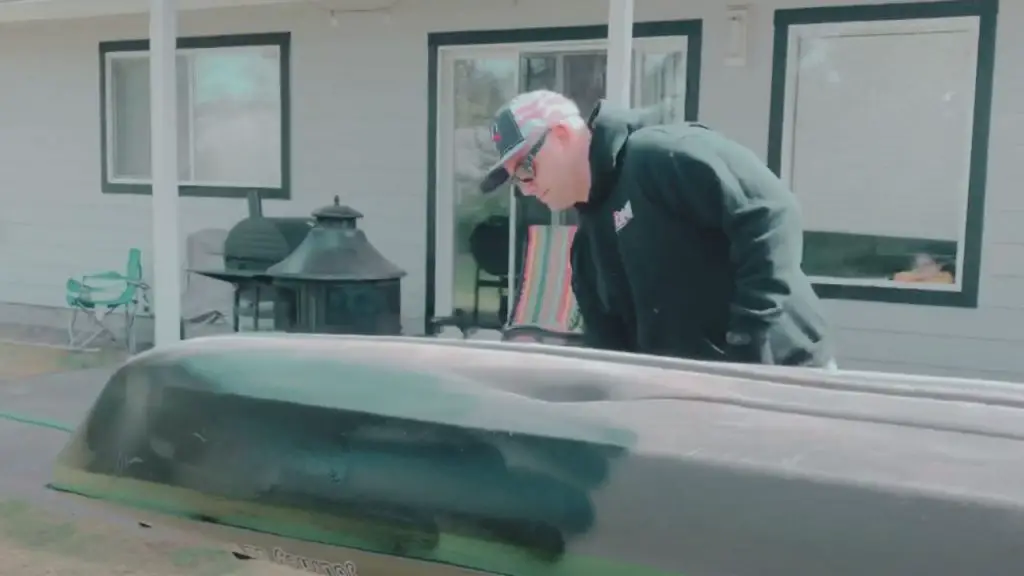
Step 8: Clean and Wax Your Kayak
The next step is not mandatory. You can wax the painting surface by applying marine wax to give a final touch. Waxing works against scratches. Besides, it will ensure a long lifespan of the paint.
Step 9: Re-Rig It
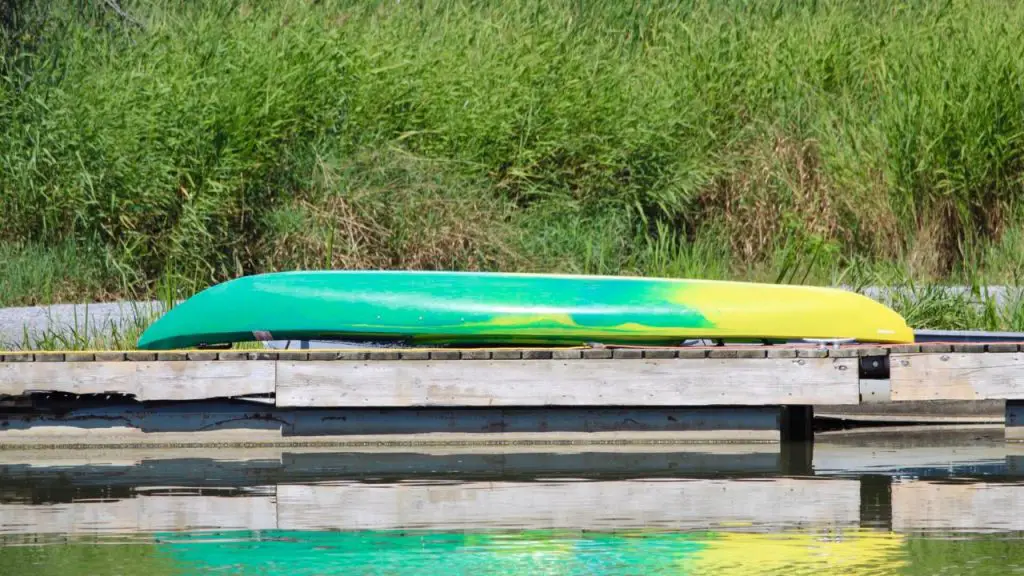
When the kayak is completely dried, you can install the hardware and accessories. Now, it’s time to clean the surface again. Simply, use the dishwasher or soap with water for a regular cleaning.
Finally, you have done it. Now, you have an attractive kayak with a new paint job. You can re-rig the kayak for the adventure.
Try to carry the boat carefully on the road. You can simply start paddling with a painted kayak as before.
FAQs
Can you spray paint a kayak?
Yes, you can spray paint on a kayak. It is an easy and cost-effective method of DIY kayak painting.
How do you get paint to stick to a kayak?
You have to use sandpaper to smooth the surface and apply two coats of paint. It will remove the dust, dent, and stick to adhere the paint on the kayak’s surface.
How do you refinish a plastic kayak?
You can use a wash-brush to refinish a plastic kayak while sanding. Make sure that the heat range is not dangerous for the surface.
What kind of paint do you use on a plastic canoe?
Oil-based marine paint is perfect for a plastic canoe. It is suitable for marine environments.
Can you sand a kayak?
Yes, you can sand a kayak. It is a mandatory step for painting a kayak. Sanding will make the surface smooth and remove dents.
What can I paint my kayak with?
You can use a paintbrush or paint spray. If you want to do it more conveniently, you can apply paint with both. It will enable you to cover the surface effectively.
Will epoxy stick to a kayak?
Plastic kayaks can spread the epoxy adhesive. These kayaks are made from polyethylene which is hard to bond adhesive.
Wrapping Up
In conclusion, it can be said that painting your kayak is easy but tricky. You have to follow the steps gradually and use the necessary tools to make the painting job perfect.
The cleaning and drying steps are more important because they are related to the finishing and longevity of the paint.
You should know the types of surfaces and paint to apply a long-lasting painting. It is recommended to remove equipment from the kayak before starting painting.